Step 1 : First of all, let’s create a new page. In order to do it, select the Pages tab from the WordPress Dashboard and click the Add New button.
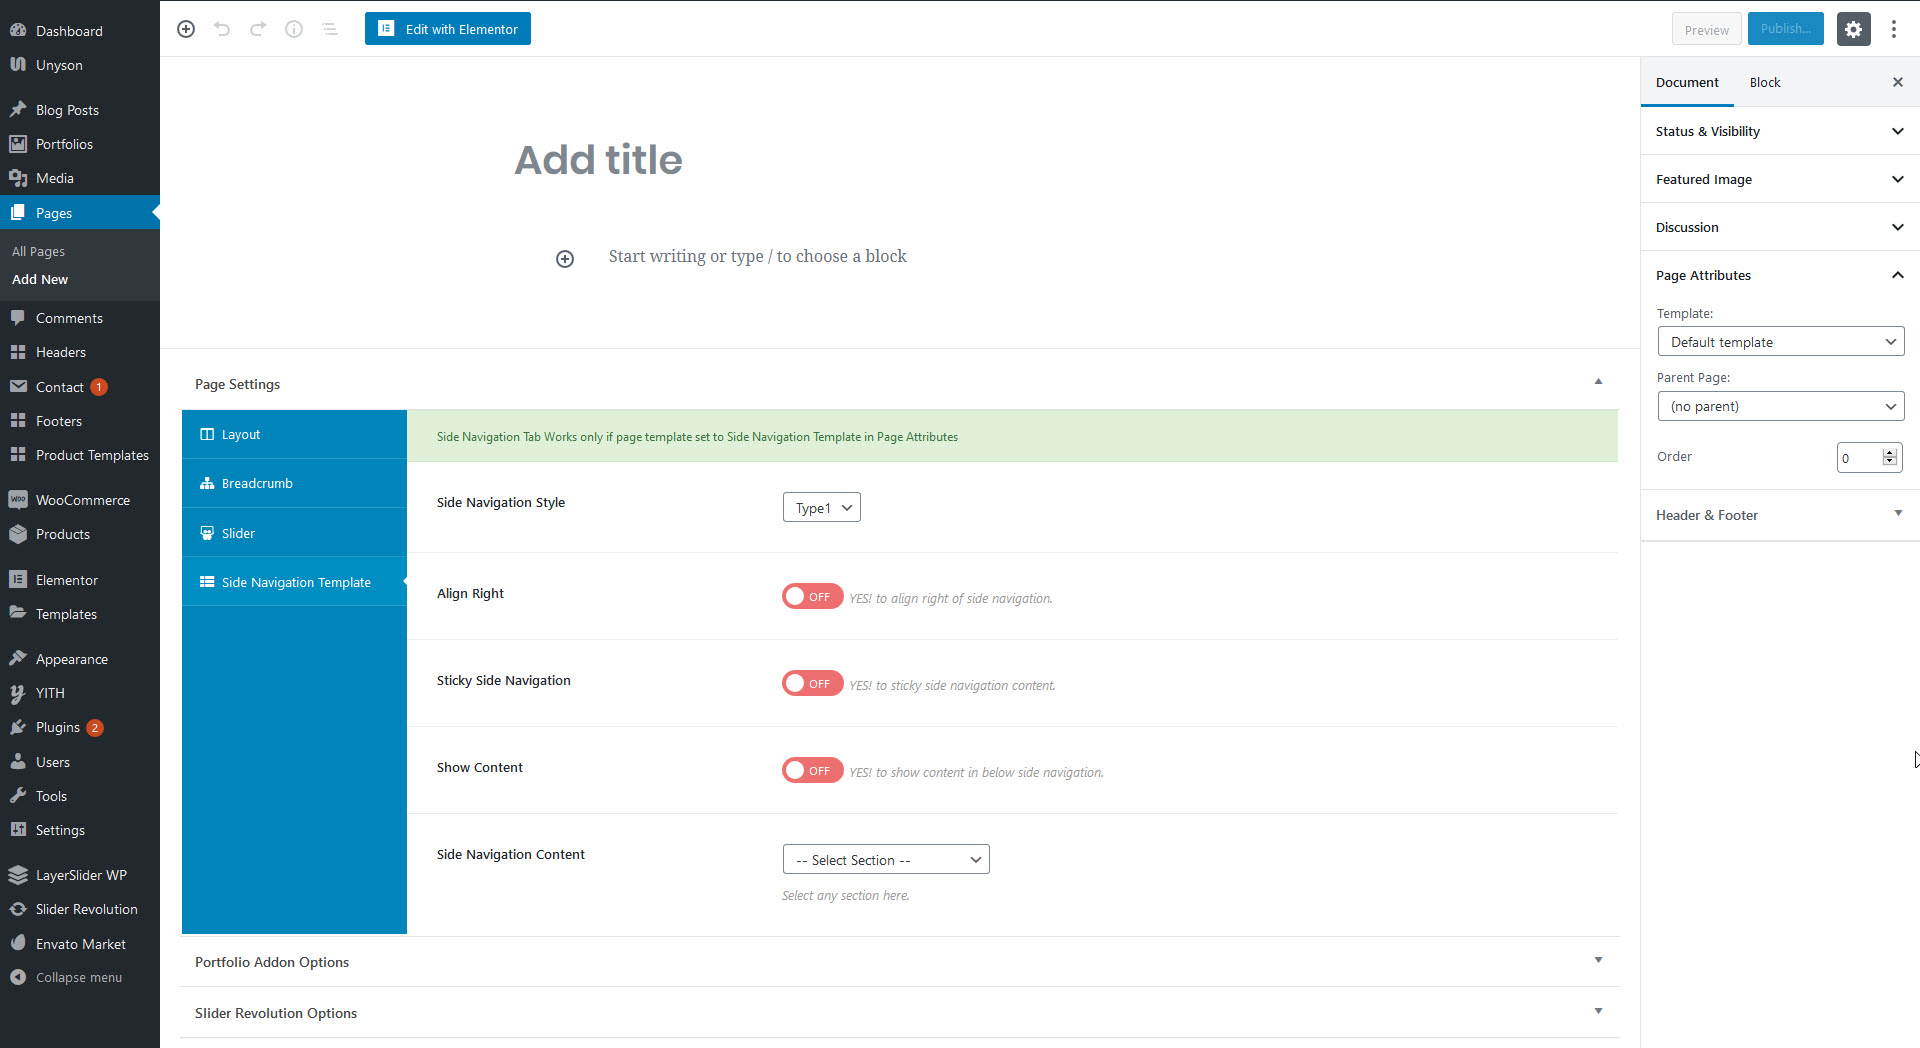
Step 2 : Provide your new page with a name, and proceed to the Page Attributes section, where you need to select the Elementor Canvas template from the Template dropdown.
Step 3 : Now, click the Edit with Elementor button to get redirected to Elementor page builder where you will do all the customization and will be able to fill the page up with content.
Step 4 : When Elementor opens you’ll see the Add Template button and the Magic Button option. Afterwards, click Magic Button to select the ready-to-use page and section templates.
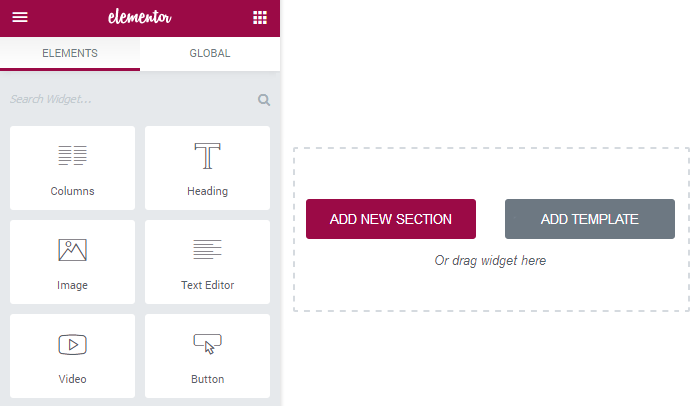
Step 5 : Then, click the Add New Section button and select the needed structure of a new page. You can select the section with up to 10 columns and change their size, the layout, the structure, the border, and the background. Set up the Margin and the Padding values if you want.
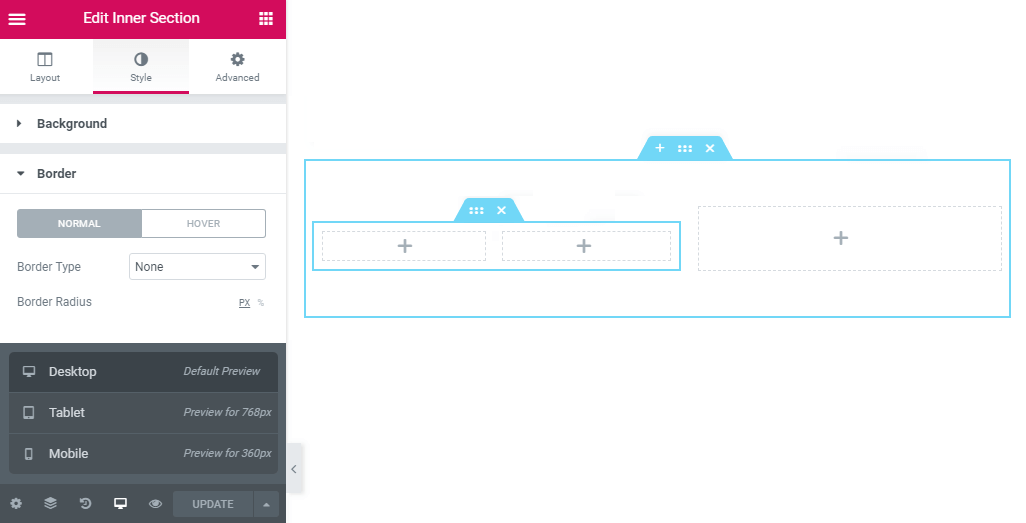
Step 6 : Also, you can use Inner Section widget to add the columns inside the already existing ones to create a more complex layout with a number of columns inside the column you’ve got.
Step 7 : Fill the columns with the widgets and create any content you want. Use the Style and Advanced settings in order to style up the content according to your wishes.
Step 8 : If you don’t need one of the columns, sections or widgets, you can easily delete it by clicking the Delete button.
Step 9 : Feel free to use the Navigator option located in the bottom left corner on the right from the Settings to view the layout of the page with all the inner sections, and all the content blocks. You can easily drag and drop the elements shown there to get the desired effect.
Step 10 : Make sure that your page is fully responsive and will look properly on all devices. In order to does it click the Responsive Mode option.
Step 11 :After the customization is done, click the Publish button.