Class Options
- All Classes
- Class Options
- Default
- Online
- Onsite
LMS Addon : Class Options
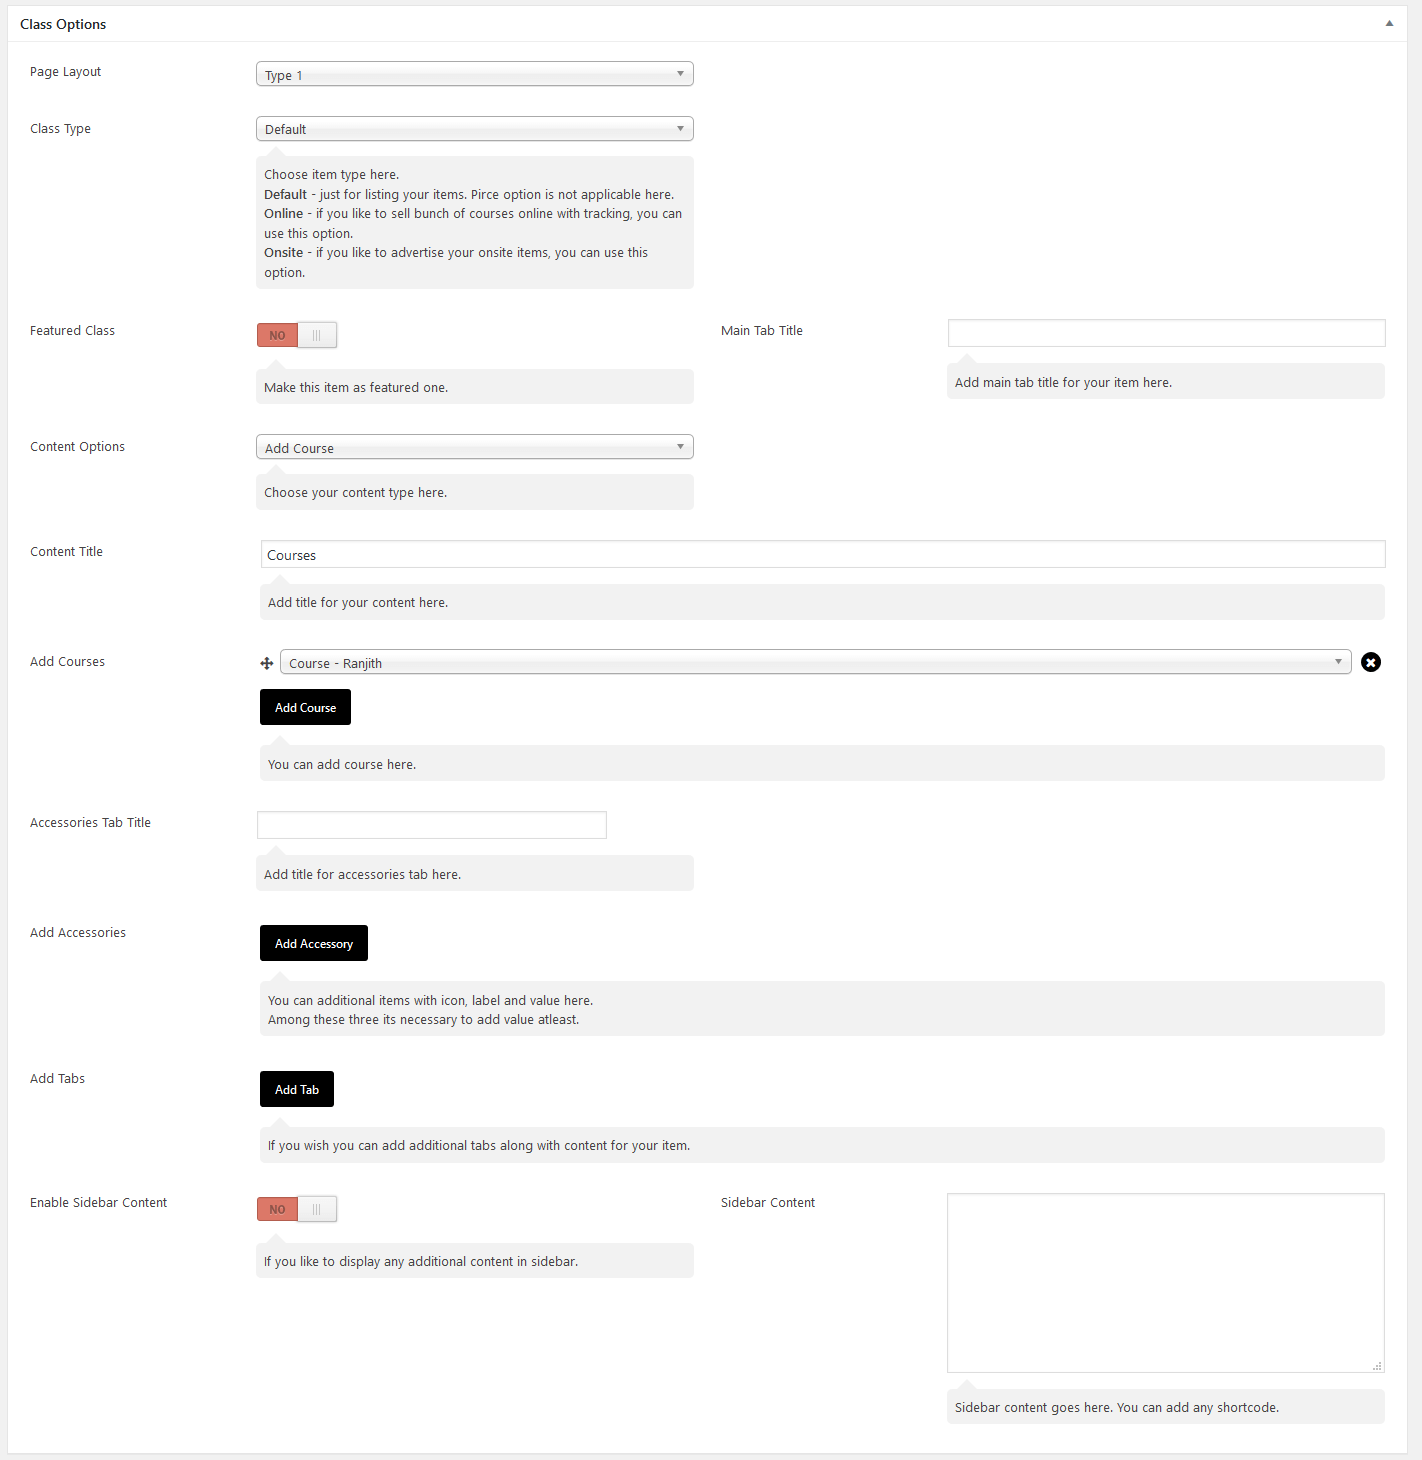
This is how the Classes backend shows for the site administrator. We do have numerous options and we will explain it one by one.
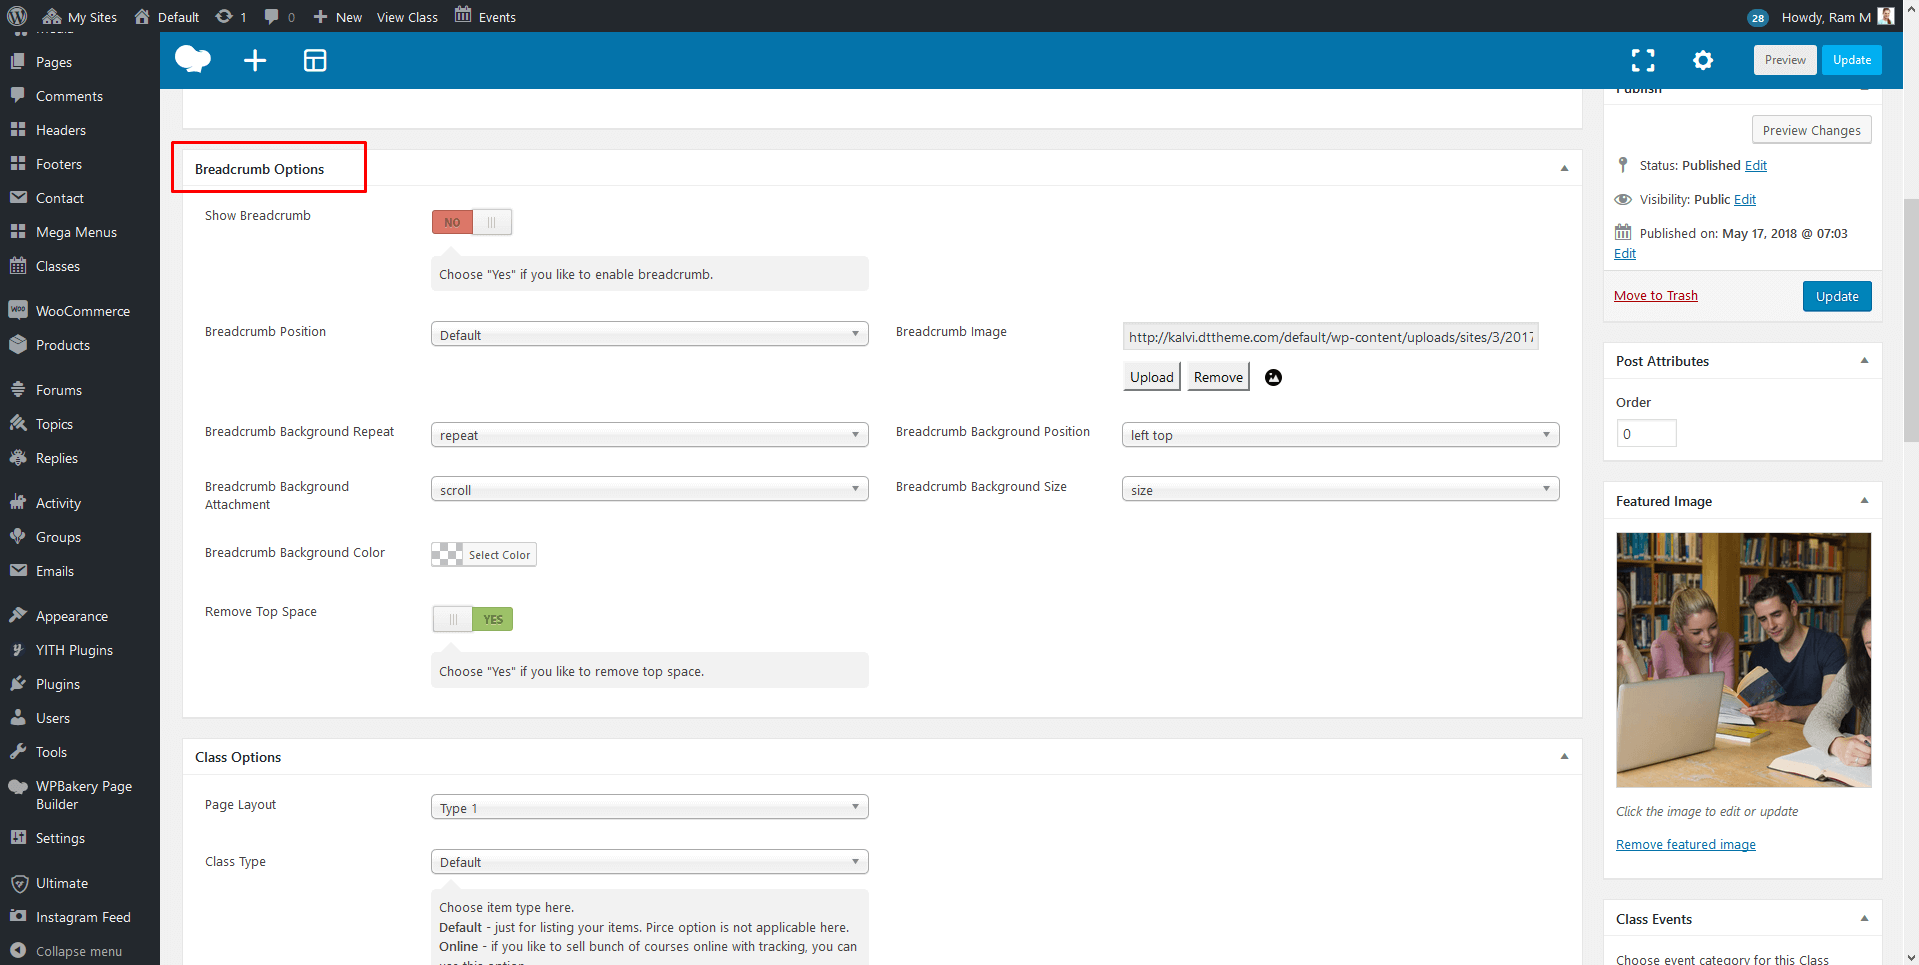
Now we are going to look the options of Classes Add New page. Once the page is opened you will have the section for the classes contents in which you can use the Visual Composer plugin. We have numerous shortcodes for classes and we will be explaining it in this documentation. Now lets see the Breadcrumb Options
Breadcrumb Options
With the Breadcrumb option metabox you can enable/disable the breadcrumb, set the position of breadcrumb, set background image, set background position, set background repeat, set background color and remove the top space if needed.
1. Default
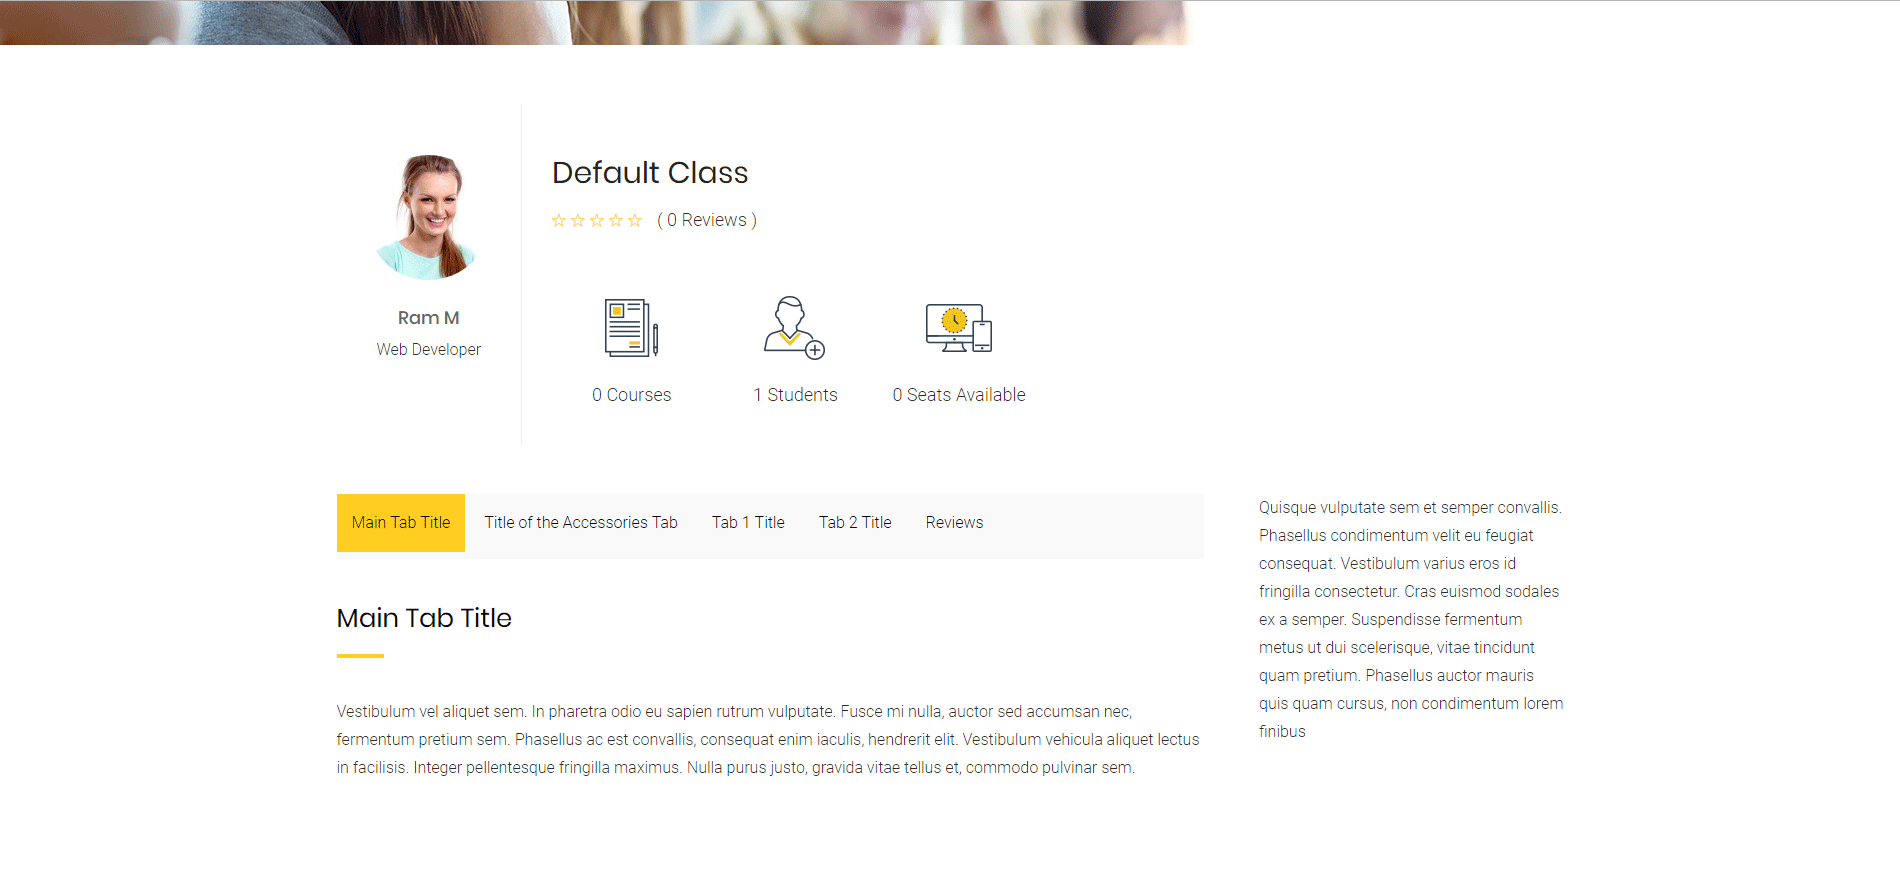
Just for listing your items. Price option is not applicable here. This type is basically used for any private education centers who offer any crash courses in their centers. For example if a education center is offering wordpress class on 20th June 2018, then this default type can be used. They can just display the Class Information in their site. Price option is not need for this default class type.
1.1) Featured Class
With this option you can set a “Featured” badge to the class item that you need.
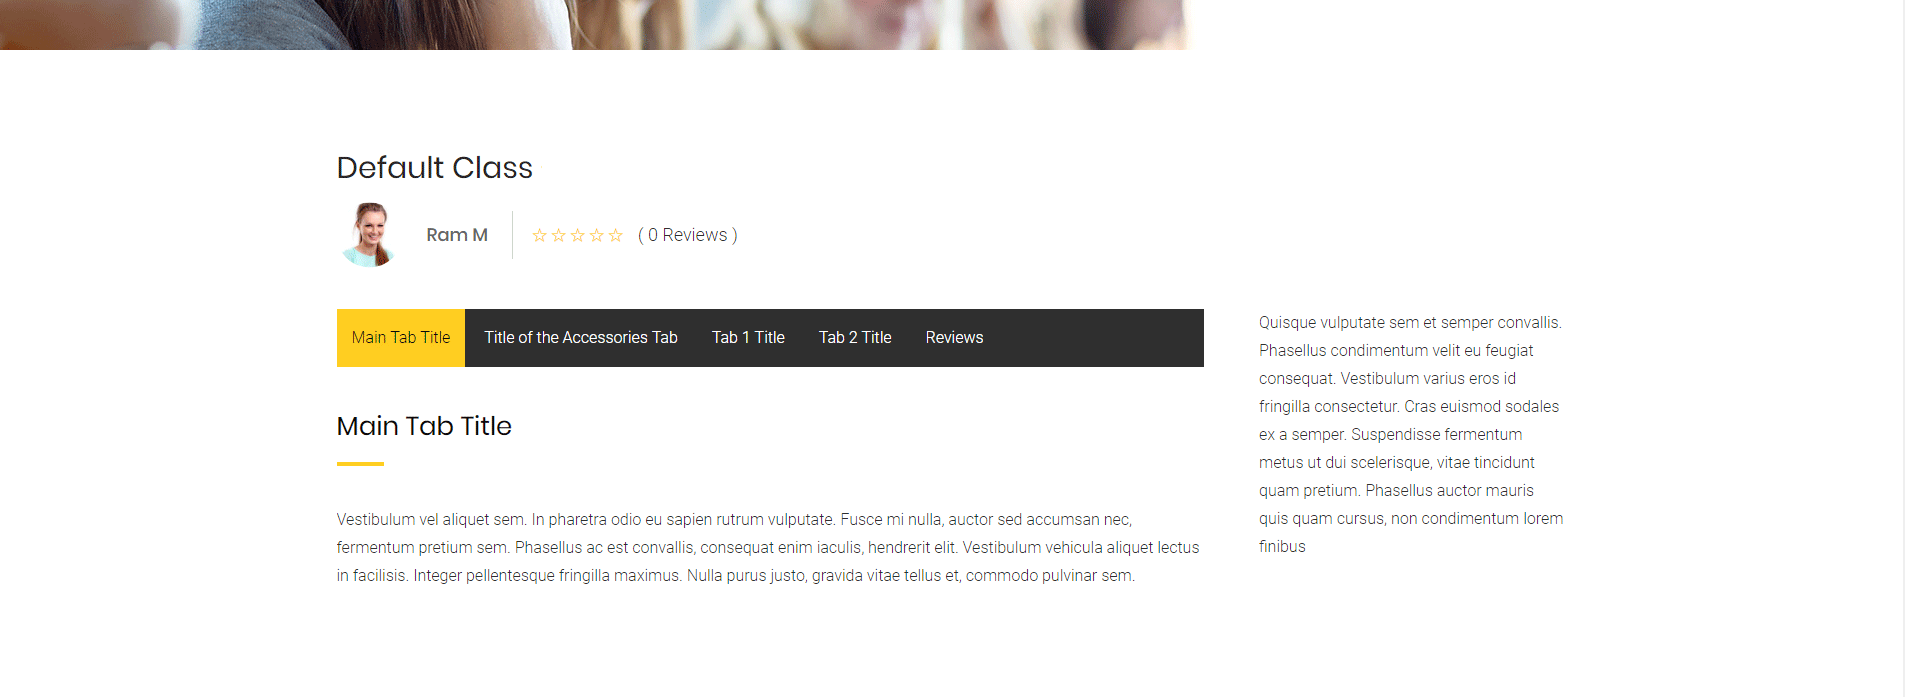
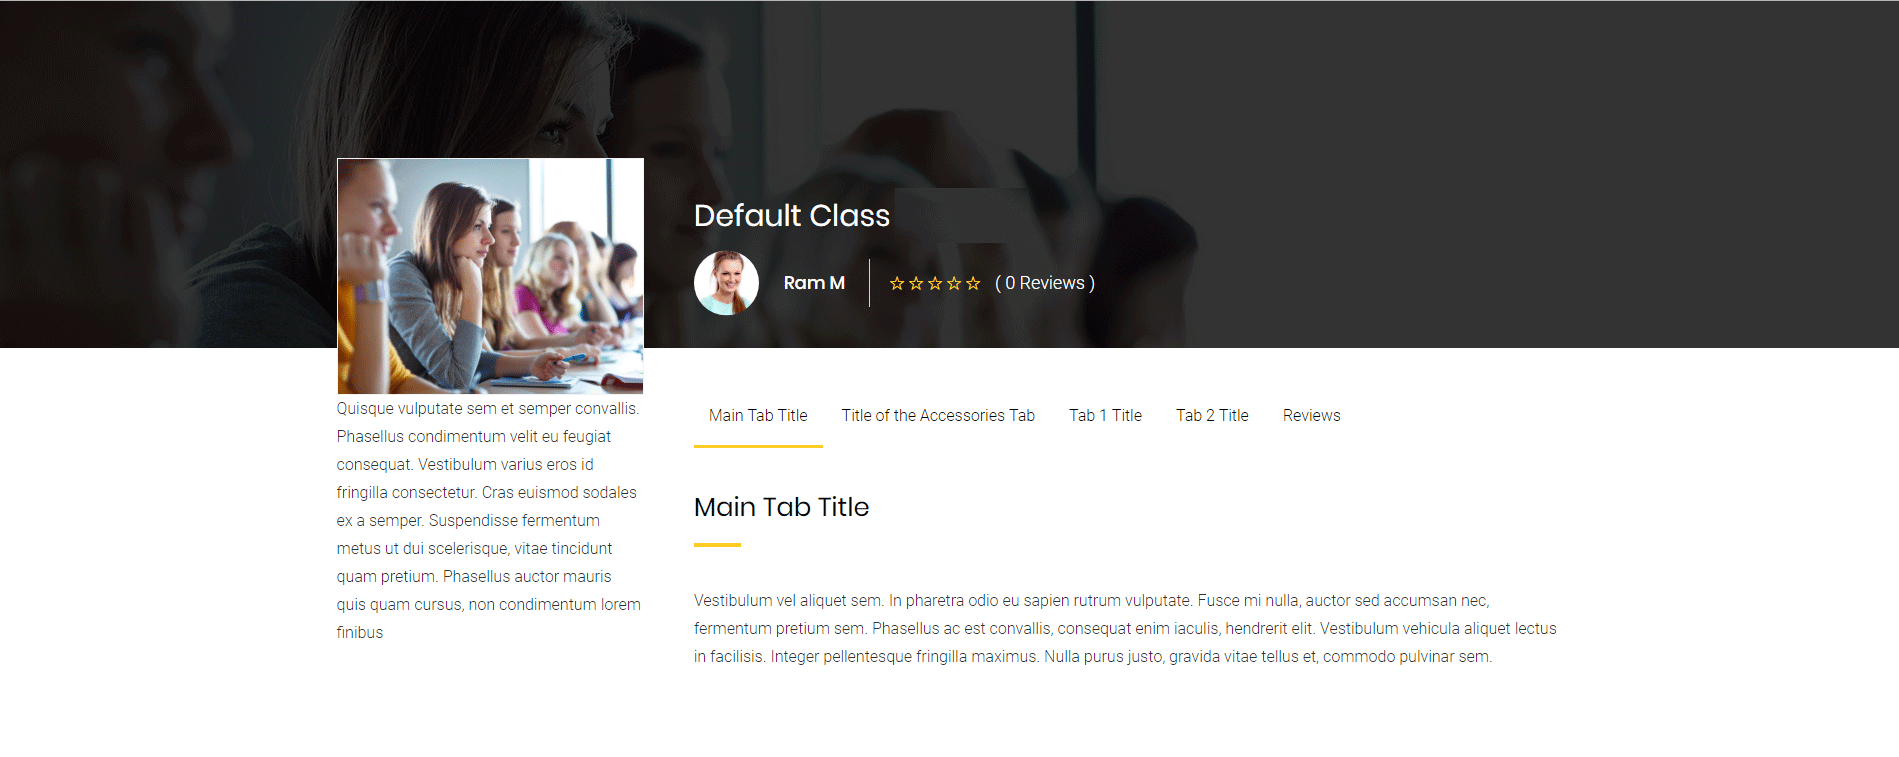
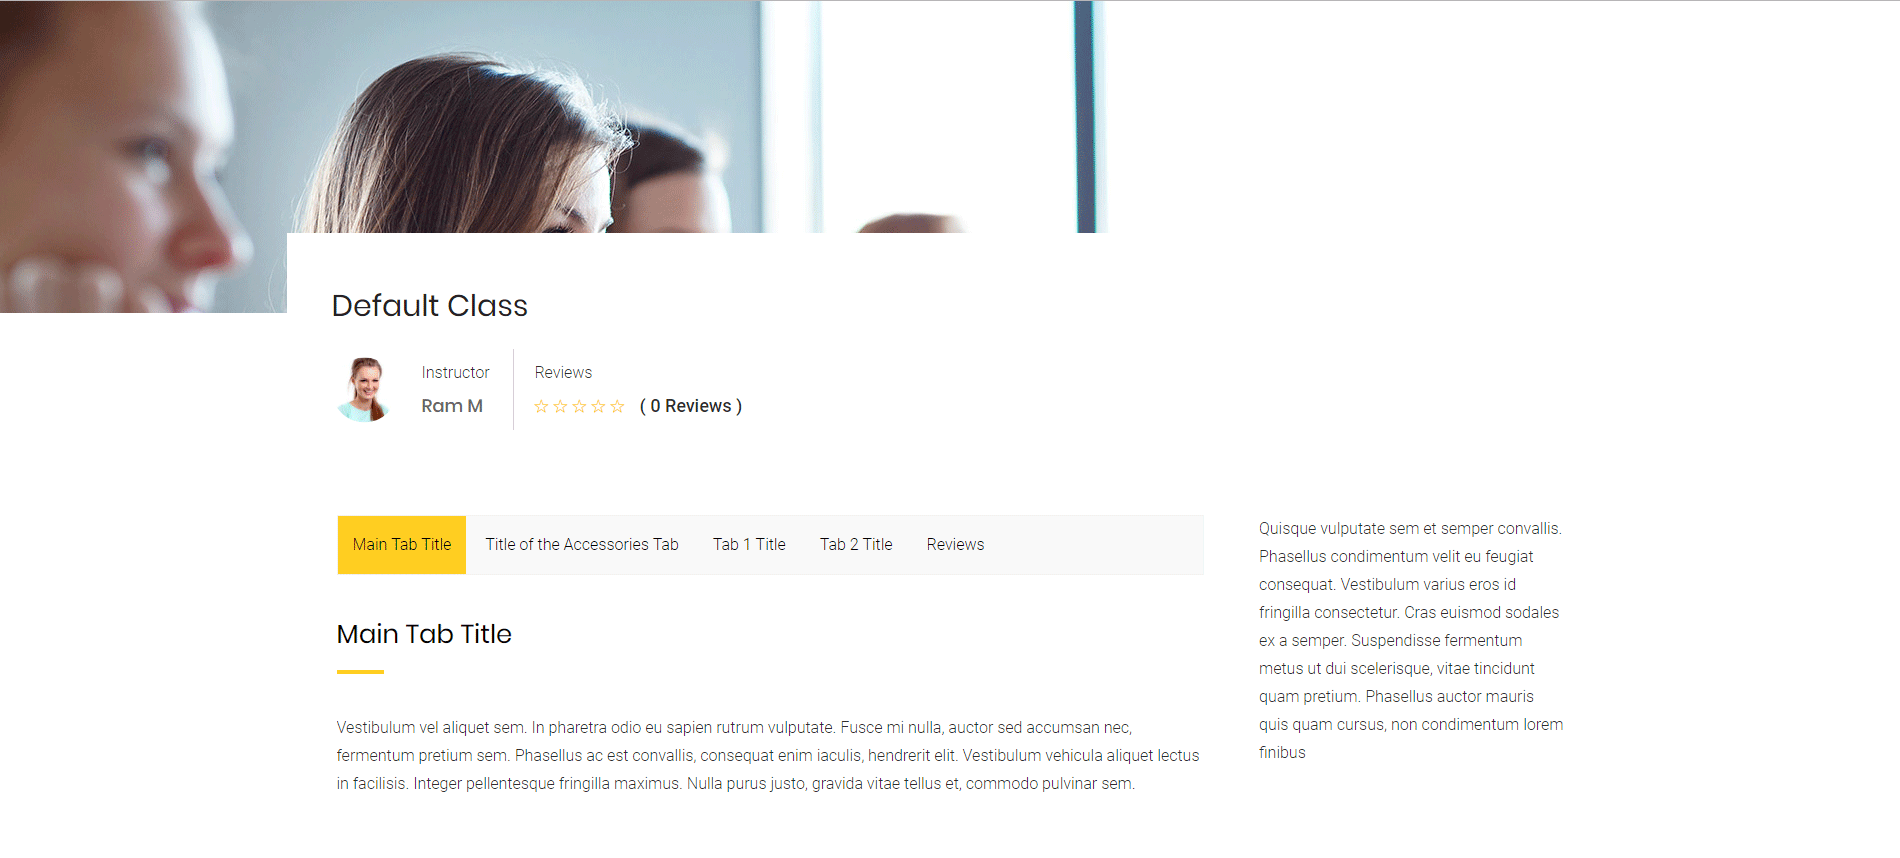
1.2) Main Tab Title
With this option you can set title of the Main tab module in the class details page. If this field is left blank, then the default title will be “About The Program”.
1.3) Content Options
Next comes the content options. You have 2 types of content options. You can add courses or any shortcodes of the theme.
1. Add Course: If you select the “Add Course” option, then the courses selection box and Content Title option will be loaded. You can select what ever course that you need to link to this class. You can also add Content Title to that course that you are going to add. You can add as many as courses that you need without any restriction.
2. Add Shortcodes: If you select the “Add Shortcodes” option, then a text area and Content Title option will be loaded. In the text area you can add whatever shortcode that you need to display in that section and give a Content Title for that section,
1.4) Accessories Tab Title
With this option you can add Accessories tab title.
1.5) Add Accessories
With this option you can add Accessories tab inside the class content in the tab module. If you click “Add Accessory” button, the textboxes for the content section will be loaded. The contents will have Icon ( any font awesome icons), Label, Value and Description. You can add as many as accessories that you need without any restriction.
1.6) Add Tabs
With this option you can add any additional tabs to the classes content if you need. You can add title and content in the shortcode format. You can add any shortcode from the theme. You can add as many as tabs section that you need without any restriction.
1.7) Enable Sidebar Content
With this option you can add any additional content in sidebar. You need to add the sidebar content in the format of shortcodes. You can use any shortcodes from the theme. The shortcodes needs to be added in the “Sidebar Content” textarea.
1.8) Woocommerce Options
Earlier we have said that the price options does not applies for this type. Yes it does not apply, but if you need to show any price in the class details page, you can add it here. But the “Add to Cart” option will not apply for this type of class.
1.9) Class Events
Once the “Events Calendar” is activated, this option will be available. This option is used to assign any events to the class item. Here you can assign as many as events to the classes.
Online
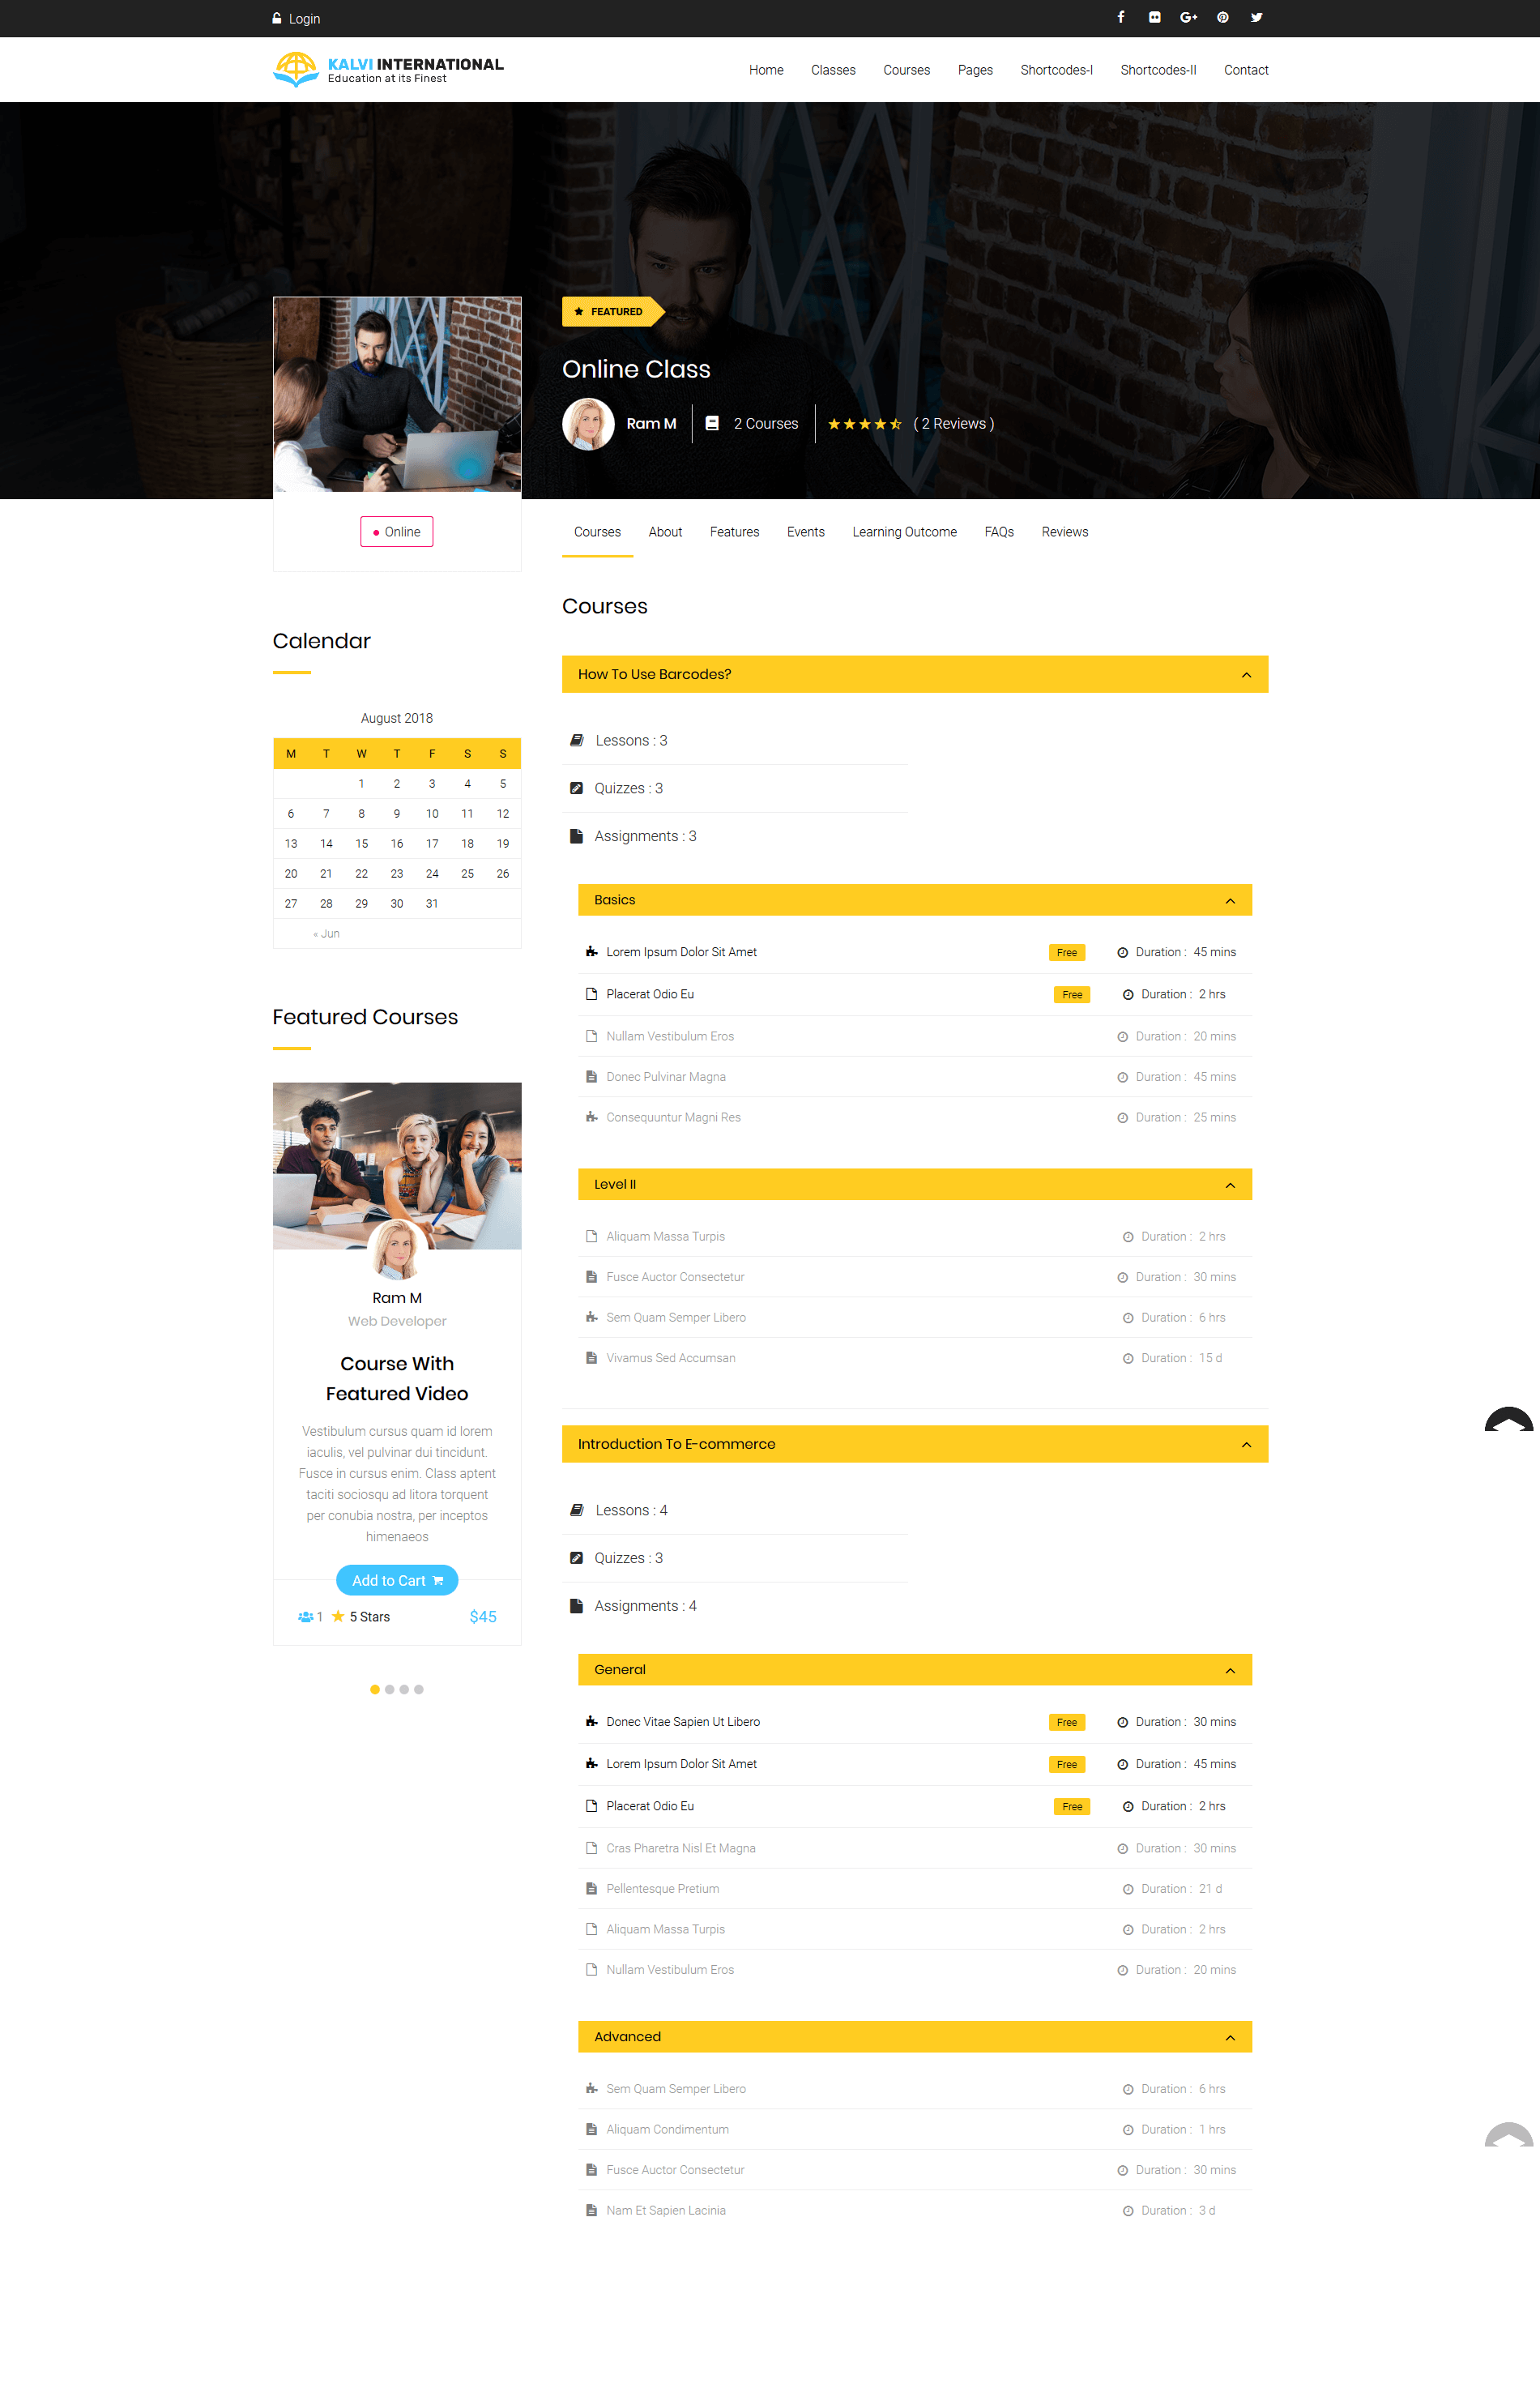
If you like to sell bunch of courses online with tracking, you can use this option. This type of courses are useful for selling the courses online. That is all the actions of the courses are done online, like the intructor can upload the course online, and the student can purchase it online and view it online and obtain his feedback, certificate, badge, etc.., everything in online.
2.1) Featured Class
With this option you can set a “Featured” badge to the class item that you need.
2.2) Main Tab Title
With this option you can set title of the Main tab module in the class details page. If this field is left blank, then the default title will be “About The Program”.
2.3) Content Options
Next comes the content options. You have 2 types of content options. You can add courses or any shortcodes of the theme.
1. Add Course: If you select the “Add Course” option, then the courses selection box and Content Title option will be loaded. You can select what ever course that you need to link to this class. You can also add Content Title to that course that you are going to add. You can add as many as courses that you need without any restriction.
2. Add Shortcodes: If you select the “Add Shortcodes” option, then a text area and Content Title option will be loaded. In the text area you can add whatever shortcode that you need to display in that section and give a Content Title for that section,
2.4) Enable Certificate
If this button is enabled, then the Certificate option will be enabled for the class item. This is the certificate that the user is going to get once he completes the class successfully.
2.5) Enable Badge
If this button is enabled, then the Badge option will be enabled for the class item. This is the badge that the user is going to get once he completes the class successfully.
2.6) Certificate Percentage (%)
This is the option to set the Certificate Percentage. The user will get the certificate only if he obtains this percentage overall.
2.7) Badge Percentage (%)
Similar to the certicate percentage, this is the option to set the Badge Percentage. The user will get the badge only if he obtains this percentage overall.
2.8) Certificate Template
Using this selection box option you can select Certificate Template which is created from the “All Certificates” menu. You can create your own certificate or use the default template. We will explain all of them separately.
2.10) Badge Image
Using this option you can upload custom image to the badge of the course.
2.11) Accessories Tab Title
With this option you can add Accessories tab title.
2.12) Add Accessories
With this option you can add Accessories tab inside the class content in the tab module. If you click “Add Accessory” button, the textboxes for the content section will be loaded. The contents will have Icon ( any font awesome icons), Label, Value and Description. You can add as many as accessories that you need without any restriction.
2.13) Add Tabs
With this option you can add any additional tabs to the classes content if you need. You can add title and content in the shortcode format. You can add any shortcode from the theme. You can add as many as tabs section that you need without any restriction.
2.14) Enable Sidebar Content
With this option you can add any additional content in sidebar. You need to add the sidebar content in the format of shortcodes. You can use any shortcodes from the theme. The shortcodes needs to be added in the “Sidebar Content” textarea.
2.15) Woocommerce Options
From this woocommerce metabox option you can set the Regular price and Sale price for the class item. No need to configure the price from the woocommerce plugin. Everything is done in our LMS Addon itself. This class will act as a woocommerce product and regular woocommerce method of purchasing a product can be performed. The woocommerce plugin needs to be installed and activated for this metabox to show.
2.16) Class Events
Once the “Events Calendar” is activated, this option will be available. This option is used to assign any events to the class item. Here you can assign as many as events to the classes.
Onsite
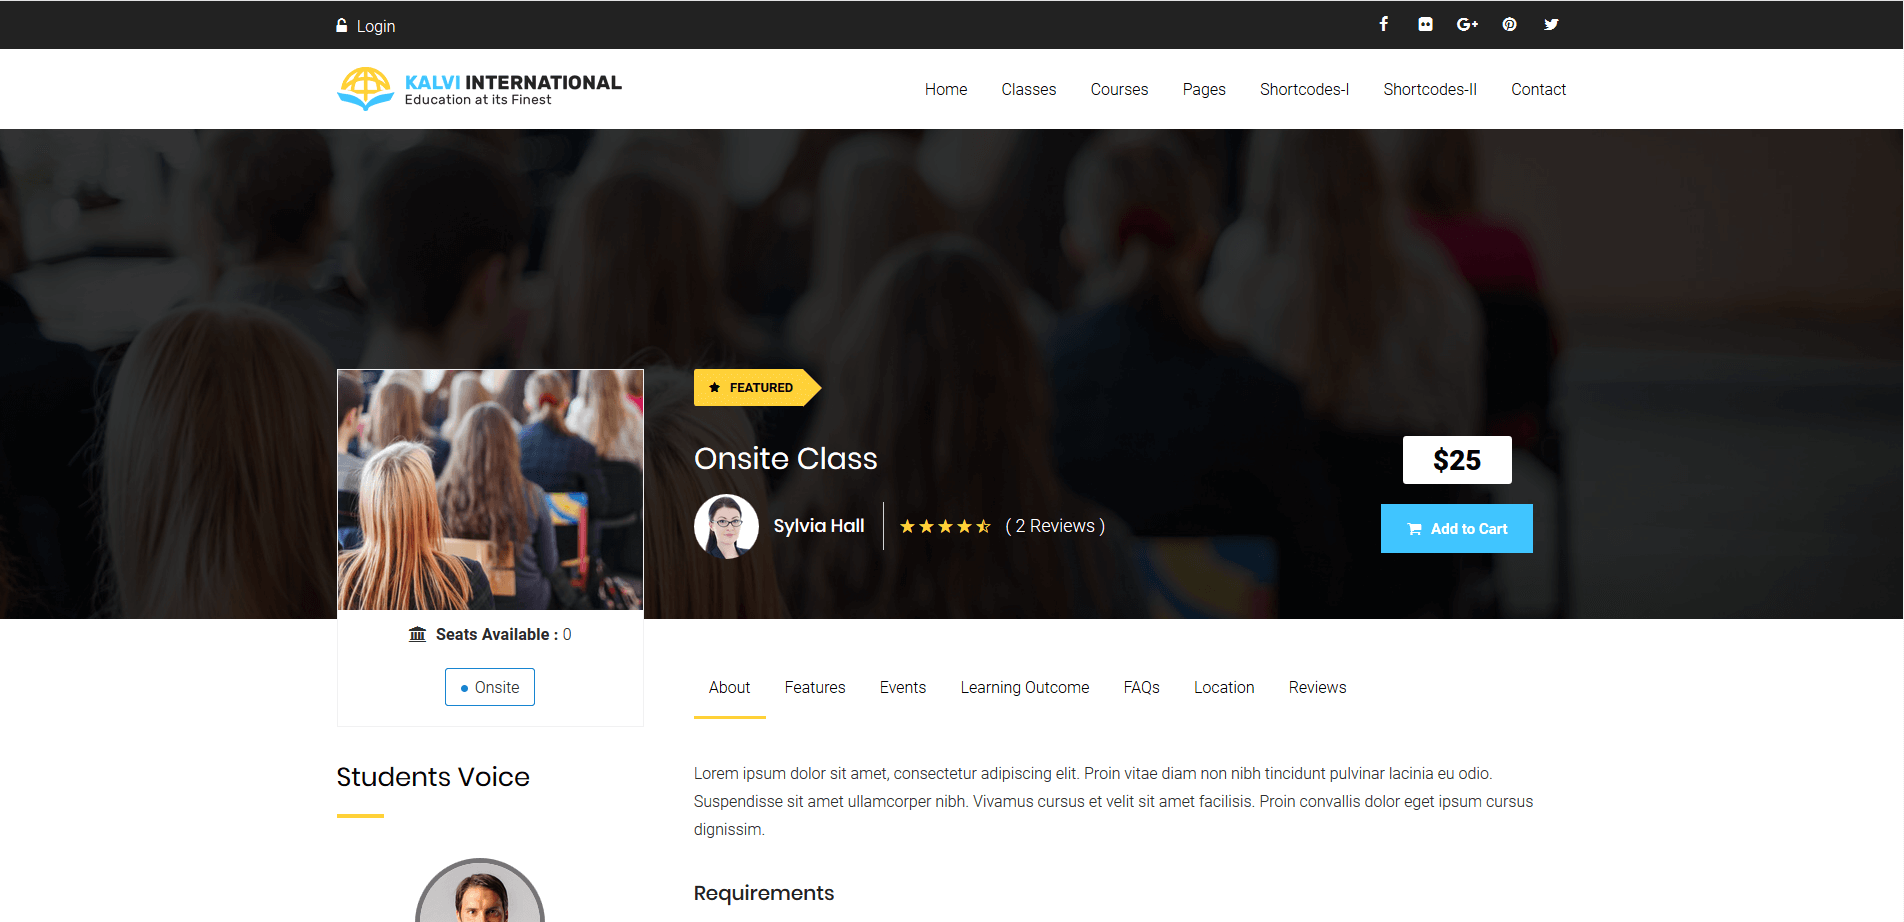
If you like to advertise your onsite items, you can use this option. That is if, this type of classes can be used for education centers who take the classes directly in the centers (Onsite) and not online. The class can be advertised with the Start Date and if needed the purchase option can also be enabled online. That is the student can purchase the course online and he can visit the center directly to take the course. Else if the purchase option is not needed, just a registration option can be enabled and the payment can be received directly in the centers by checking the registration.
3.1) Featured Class
With this option you can set a “Featured” badge to the class item that you need.
3.2) Main Tab Title
With this option you can set title of the Main tab module in the class details page. If this field is left blank, then the default title will be “About The Program”.
3.3) Content Options
Next comes the content options. You have 2 types of content options. You can add courses or any shortcodes of the theme.
1. Add Course: If you select the “Add Course” option, then the courses selection box and Content Title option will be loaded. You can select what ever course that you need to link to this class. You can also add Content Title to that course that you are going to add. You can add as many as courses that you need without any restriction.
2. Add Shortcodes: If you select the “Add Shortcodes” option, then a text area and Content Title option will be loaded. In the text area you can add whatever shortcode that you need to display in that section and give a Content Title for that section,
3.4) Enable Certificate
If this button is enabled, then the Certificate option will be enabled for the class item. This is the certificate that the user is going to get once he completes the class successfully.
3.5) Enable Badge
If this button is enabled, then the Badge option will be enabled for the class item. This is the badge that the user is going to get once he completes the class successfully.
3.6) Certificate Template
Using this selection box option you can select Certificate Template which is created from the “All Certificates” menu. You can create your own certificate or use the default template. We will explain all of them separately.
3.7) Badge Image
Using this option you can upload custom image to the badge of the course.
3.8) Start Date
From this Start Date, you can set a future date for the Class to start. For example you can set any date in future as start date and the date will be displayed in the Class details page. Only after the time is reached, the class can be viewed. If you need to show a countdown timer until the start date of the class, it can be enabled from Dashboard > Settings > Enable Count Down Timer – Class Start Date > Yes. This will enable countdown timer for all the classes which has the start date.
3.9) Capacity
Capacity of the class is that, the maximum purchases that can be allowed for the class. That is if you have set the capacity as 100, and once the 100 purchases are completed, then the class will not be allowed to purchase. And another thing is that the “Disable Purchases / Registration” button should be enabled to “Yes”. Only if this button is enabled, the class purchase will be disabled after the class capacity is reached.
3.10) Disable Purchases / Registration
This button “Disable Purchases / Registration” works simultaneously with Capacity option. If this button is not enabled, then even the class capacity is reached, the user will be allowed to purchase the course.
3.11) Enable Purchases
If you need the class items to be sold online, you need to select “Enable Purchases” option. If that option is not selected then the “Add to cart” button will not appear in the class details page. Just the price will be displayed.
3.12) Enable Registration
If you select “Enable Registration” just a registration option will be enabled and the payment can be received directly in the centers by checking the registration. If the user is registered, then the details can be viewed by the admin from Dashboard > LMS > Class Registrations. If “Enable Purchases” button is enabled, then registration will not work and simultaneously, purchase will not work if registration is enabled.
3.13) Syllabus Preview
If you don’t wish to show the course detail pages for onsite courses, you can disable it. Enabling this option will only show the preview of the courses.
3.14) Address
If you wish to show the address of the education center or any other business purposes, this field can be used.
3.15) GPS Location
This GPS location field will automatically add the Latitude and Longitude of the specified address when “Click Here to get GPS Location” button is clicked. Based on the GPS location, the location map will be shown in the front end of the class.
3.16) Accessories Tab Title
With this option you can add Accessories tab title.
3.17) Add Accessories
With this option you can add Accessories tab inside the class content in the tab module. If you click “Add Accessory” button, the textboxes for the content section will be loaded. The contents will have Icon ( any font awesome icons), Label, Value and Description. You can add as many as accessories that you need without any restriction.
3.18) Add Tabs
With this option you can add any additional tabs to the classes content if you need. You can add title and content in the shortcode format. You can add any shortcode from the theme. You can add as many as tabs section that you need without any restriction.
3.19) Enable Sidebar Content
With this option you can add any additional content in sidebar. You need to add the sidebar content in the format of shortcodes. You can use any shortcodes from the theme. The shortcodes needs to be added in the “Sidebar Content” textarea.
3.20) Woocommerce Options
From this woocommerce metabox option you can set the Regular price and Sale price for the class item. No need to configure the price from the woocommerce plugin. Everything is done in our LMS Addon itself. This class will act as a woocommerce product and regular woocommerce method of purchasing a product can be performed if “Enable purchase” option is selected. The woocommerce plugin needs to be installed and activated for this metabox to show.
3.21) Class Events
Once the “Events Calendar” is activated, this option will be available. This option is used to assign any events to the class item. Here you can assign as many as events to the classes.
3.22) Author Metabox
From this metabox you can change the author of the current class. All the authors of your site will be listed in the selection box. If the author needs to be changed, the admin can change it from this option.
How to add captions
Integer id dolor libero. Cras in turpis nulla. Vivamus at tellus erat. Nulla ligula sem, eleifend vitae semper et, blandit a elit. Nam et ultrices lectus. Ut sit amet risus eget neque scelerisque consectetur.

